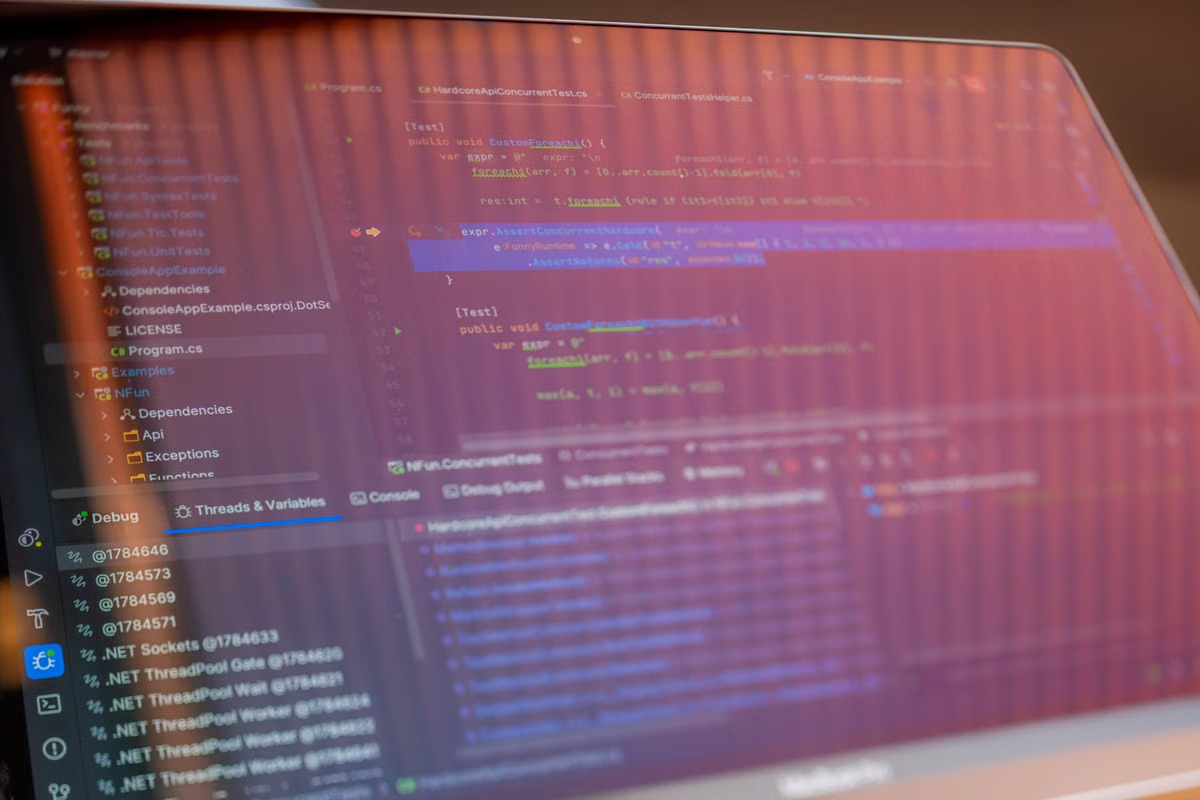
Decision: Treat MacBook Neo as a possible beginner machine, but buy only after matching your course’s Xcode and macOS requirements and testing a real project plus simulator tasks. Fastest check: Use the course project—not the model name, a benchmark, or the fact that Xcode opens.
This guide is for you if you have a Windows PC and are considering MacBook Neo for iOS study. It also helps if you already own one and are about to start SwiftUI or Xcode coursework. If your course includes project builds or simulator assessment, use the checks below to decide whether you need another Mac environment.
Last updated October 17, 2026. Compatibility references checked against Apple’s MacBook Neo technical specifications and Xcode system requirements. Recheck them against your course’s exact tool version before you commit: requirements can change as Apple updates its documentation.
Before buying, list what your course must deliver
“Learning iOS development” can mean several different workloads. A course might ask you to write Swift syntax exercises, build a simple SwiftUI screen, compile a complete app, or run that app in a simulator and demonstrate the result. Those are not interchangeable checks.
Start with the course page, assignment brief, or instructor’s setup notes. Write down the specified Xcode version, required macOS version, project files, and the exact way you must submit or demonstrate your work. If the instructions only say “install Xcode,” ask whether the course also requires a particular simulator runtime, device type, or acceptance step.
That distinction matters because an editor opening a project proves little about the complete workflow. You might be able to read or change source code but still be unable to build the required target. A successful build is a different result from launching the app in a simulator, and both are different from satisfying the instructor’s submission rules.
Use this task map before you compare devices:
| Course task | What to verify | Fit score |
|---|---|---|
| Swift syntax exercises | The required Xcode version can be installed and open the provided materials | Pass if confirmed |
| Introductory SwiftUI screen | The actual project opens and builds with the course’s configuration | Pass only after testing |
| Complete iOS project | Required packages, targets, and build steps work as assigned | Verify with the course project |
| Simulator demonstration | The required runtime installs and the app launches in the expected simulator workflow | Needs direct verification |
| Graded submission or acceptance | The exact instructor-required checks can be completed on the machine | Pass only after reproducing them |
Match the MacBook Neo and course versions
Apple’s product specification page provides the device information you need to inspect, including its processor, memory, storage, display, and ports. Use those listed facts to assess your own course workload, but don’t treat a hardware page as confirmation that a particular class project is supported. Check the MacBook Neo specifications, then compare the software requirements separately.
The key compatibility check is the relationship between the macOS version on the Mac and the specific Xcode release your course requires. Apple maintains a version-by-version Xcode system requirements table. Look up the course’s exact release rather than assuming that the latest Xcode is what your instructor expects—or that any Xcode version will run on the operating system installed on the machine.
Check these items in order:
- Course Xcode version: Record the exact version or range in the instructions.
- Required macOS version: Confirm that the course’s Xcode release supports the operating system available on your MacBook Neo.
- Project requirements: Check for specified platforms, packages, or setup steps that go beyond opening a basic Swift file.
- Simulator requirement: Find out whether the course asks you to install and use a particular simulator runtime.
- Assessment method: Confirm whether you need only a build, or also a running app, screenshots, a demonstration, or another instructor-defined check.
If the course does not name a version, ask the instructor before buying. A clear answer can prevent you from choosing a setup that meets the general requirements for one Xcode release but not the class’s actual instructions.Don’t buy based on a general statement that a Mac can run Xcode. The relevant evidence is whether your exact course version, project, components, and assessment steps work together.
In your first week, test a small course project
Before you move your whole study routine onto the machine, use a course-provided starter project or a simple project created in Xcode. Follow the course’s setup instructions as written. Don’t begin by changing several settings or downloading unrelated tools; first find out whether the standard workflow works.
A basic verification pass looks like this:
- Open the project the way the course tells you to.
- Check whether Xcode reports any missing components or project setup steps.
- Make one small, reversible change, such as editing a text label.
- Build the project using the course’s required target and configuration.
- Save the project, close it, and reopen it to confirm that your work remains available.
For a first SwiftUI exercise, the goal is not to judge the device by a speed impression. It is to confirm that the course workflow runs on your setup. Apple’s SwiftUI introductory learning material can help you identify the kind of guided work involved, but your course’s own starter files and assessment requirements remain the better test for a purchase decision.
A successful build is useful evidence, but it has a limited meaning: Xcode completed that build step for that project and configuration. It does not establish that a simulator runtime is available, that all course tasks will run, or that your instructor will accept the result.
When the course moves to iOS projects, separate build from simulator checks
Once you start a complete project, test each stage on its own. First check whether Xcode can build the target your course specifies. Then check whether the app can be launched in the required simulator. Finally, complete the actual presentation or assessment step, if the course requires one.
Apple’s documentation explains how to run an app on simulated or physical devices. Use it to understand the supported workflow, then compare that workflow with your assignment. A course that asks you to build and inspect an interface may have different requirements from one that asks you to demonstrate behavior in a specified simulator.
If an install is blocked, a build fails, or the simulator task cannot be completed, don’t immediately assume that the MacBook Neo is too weak—or that the course materials are wrong. Check the error against the required Xcode version, the matching macOS requirements, and any separately installed components. If those match, follow the course’s troubleshooting instructions or ask the instructor whether the assignment expects a different target or setup.
Keep a short verification record:
- Xcode release and macOS version shown on your machine.
- Project name and build result.
- Whether the required simulator runtime was available.
- Whether the app launched in the required workflow.
- Which course acceptance or submission steps you completed.
As the course continues, decide whether you need a backup Mac
Your first project may work while a later assignment introduces another target, package, or simulator requirement. Revisit the course checklist when the workload changes. Keep MacBook Neo as your main study machine if it repeatedly meets the required steps; arrange a backup only when a specific course task cannot be completed on your setup.
If you’re still unsure before purchase, ask the instructor for the exact Xcode and macOS requirements and whether simulator assessment is mandatory. If you already own the machine, test the next assignment early enough to ask for help before the deadline. A fallback is most useful when you know exactly which task it must cover; it is less useful if you choose one without checking access, project transfer, or the instructor’s rules.
You also don’t need to make every learning task depend on the same computer. You can use your everyday setup for reading, notes, and work that your course permits, while reserving a compatible Mac environment for the steps that explicitly require macOS and Xcode. Before relying on that arrangement, confirm that your project files can be moved safely and that the course permits the workflow.
Common questions from students
Can MacBook Neo run the Xcode version my course requires?
It depends on the macOS version supported by that specific Xcode release and the macOS version available on your MacBook Neo. Compare the course’s exact Xcode requirement with Apple’s current Xcode system requirements before buying. Then confirm that the course’s project and any required components are available for that setup; don’t rely on a general claim that Xcode runs on the model.
Is MacBook Neo enough for a first SwiftUI project?
It may be suitable for learning Swift syntax and following an introductory SwiftUI project if the required Xcode version installs and the project builds. That does not establish that every course task will work. Open the actual course project, build it, and check the required interface and test steps before relying on the machine for graded work.
Can I complete an iOS course assignment that requires the simulator?
Only if your required Xcode and macOS combination supports the simulator runtime and device workflow your course expects. Check that the runtime can be installed, launch the course app in the required simulator, and perform the same verification your instructor asks for. A successful build alone does not prove that simulator-based acceptance is complete.
What should I check before buying MacBook Neo for an iOS course?
Get the required Xcode version, its macOS requirement, the course project, and the submission or assessment steps from the course materials. Check whether you must build, run on a simulator, use a particular runtime, or complete another macOS-only task. Then compare those requirements with Apple’s current documentation and test the actual project if you can.
Choose your next step based on the task that failed
If your current Windows setup is the only computer available, it may not provide the macOS and Xcode workflow your iOS course requires. A school computer may restrict software installation, and borrowing a Mac may leave you without dependable time for a deadline or a simulator check. Buying a Mac avoids those access limits, but it is a larger commitment if you only need macOS for a particular course stage.
So use the evidence from your course rather than treating MacBook Neo as an automatic yes or no. If it passes your required build and simulator checks, keep using it. If a specific assignment needs a Mac environment you cannot access, you can review MACGPU’s remote Mac options or check the available Mac access plans before deciding whether temporary access fits your study period.
A remote Mac can be a more comfortable fallback than an unavailable school computer or a borrowed device when you need to complete a defined Xcode task, but it is not automatically the best choice for every student. If you expect frequent, long-term use or need physical access to a machine, compare that need with owning a Mac; if you only need another environment for a particular assignment or course period, renting one through MACGPU may let you finish that work without making a larger device commitment.